How to create Christmas text wrapped in a string of light bulbs in Photoshop

This tutorial is going to stem off of my last Christmas Photoshop tutorial which showed you how to create a light bulb in photoshop. My main focus for making this tutorial was to show you how to wrap an object with Christmas bulbs, but while I was thinking of a object to wrap the lights in, I just decided to create some Christmas text and combine it in this tutorial. Feel free to replace the text with your own object, it could be an image, your logo, or just text that you came up with.
There is also a video tutorial that goes along with this article so that you can follow along visually.
Here is our final product which we will be making in this tutorial

Step I: Create the 3d Text
Create a new document in Photoshop (Ctrl + N) with a width of 800px and a height of 400px, and a resolution of 300 pixels/inch. 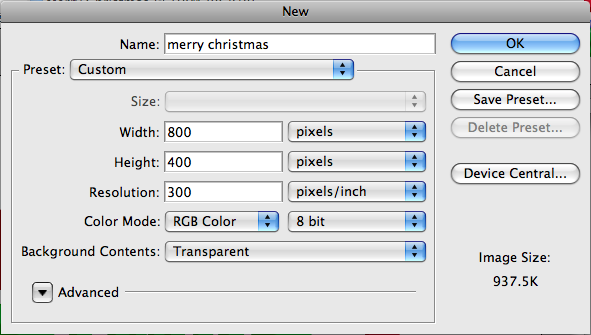
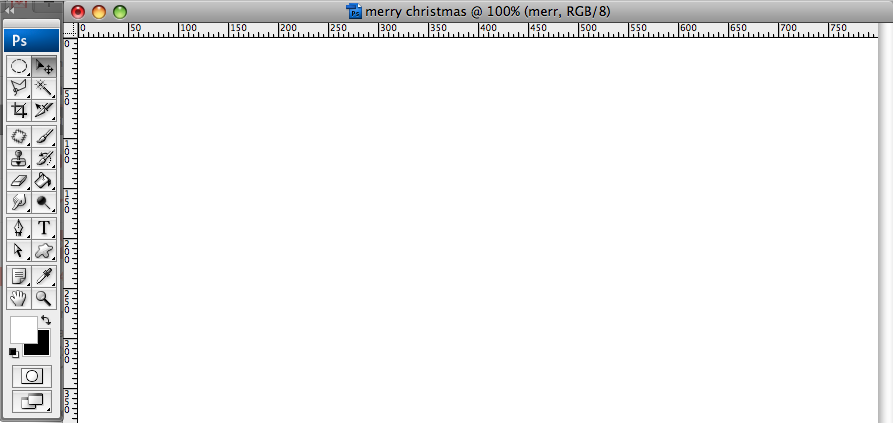
Using the gradient tool, fill the background with white.
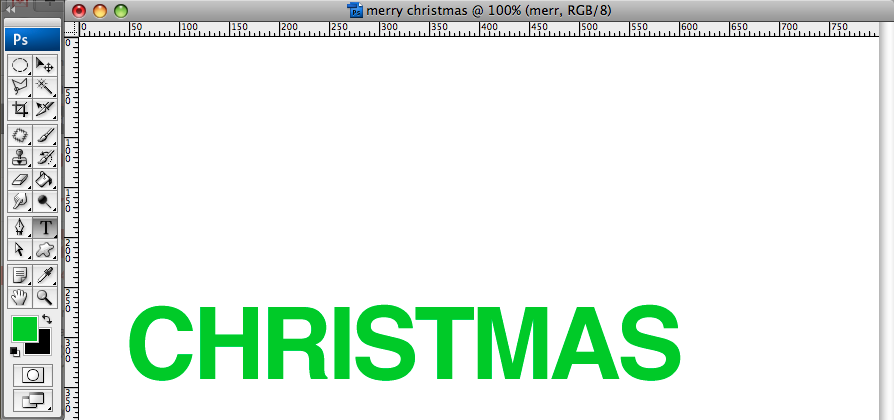
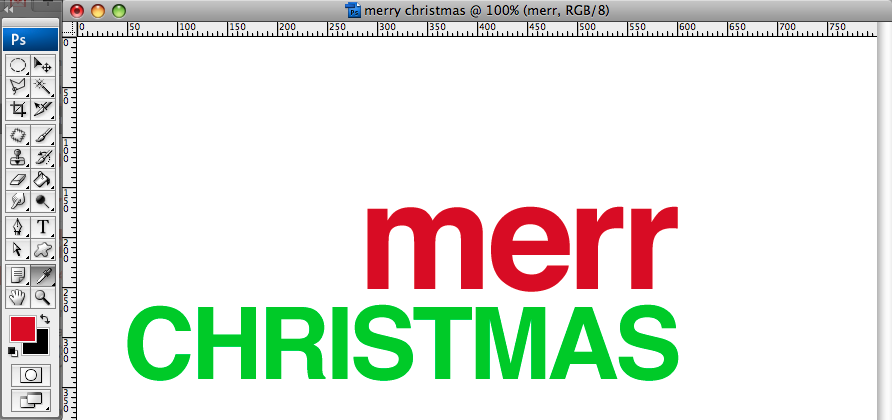
Using the text tool, write the word “Christmas” in all capital letters. I used the typeface Helvetica. If you don’t have Helvetica on your computer, you can use Arial or any other typeface that you would like. Make the type bold, 24pt, and change the color to green (#33cc45). Note: you can adjust the spacing between the letters by holding alt+left/right arrow keys.
Now create the letters “merr” in a different text layer using the text tool. (The “Y” will be created separately). Give the “merr” a red color (#cc3333), font size of 36pt, typeface: Helvetica, font-weight: bold. Position the “merr” just like the image below.
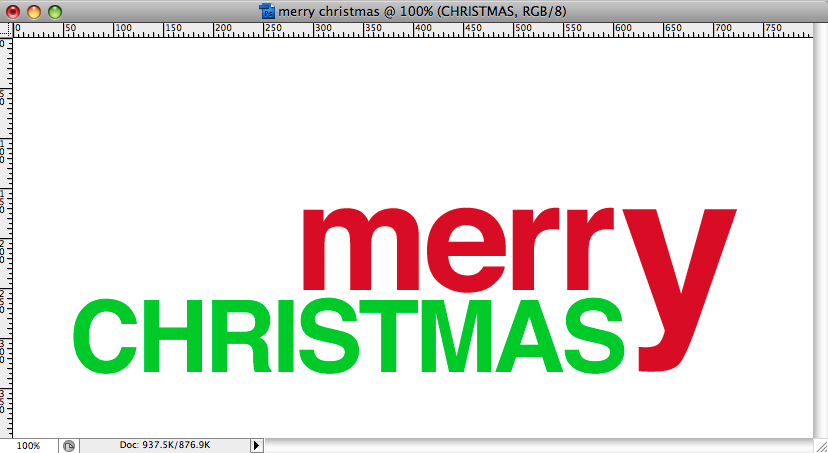
Finish up the text by adding the “y”. Use Helvetica bold, the same red color (#cc3333), and a font size of 52pt. Position the “y” like in the image below.
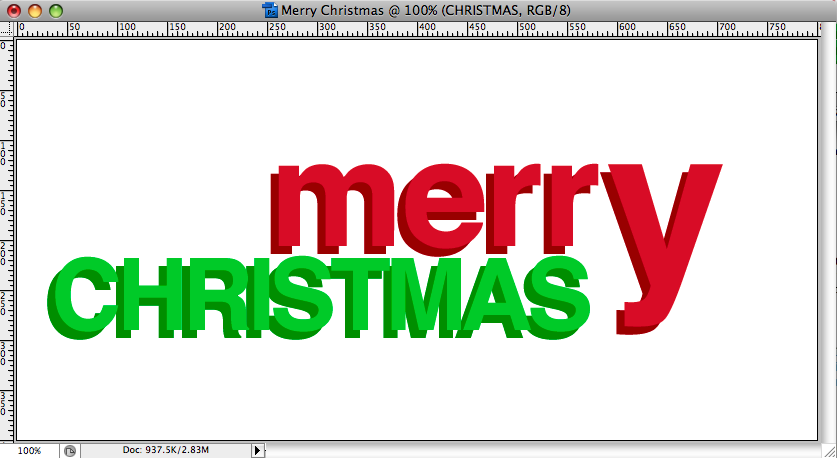
Now we are going to make the text 3D. Duplicate the green “CHRISTMAS” text layer by right clicking the layer in the layers panel and selecting duplicate layer. Change the color of the duplicate layer to a darker green (#009908). Using the move tool, move the new duplicate layer down and to the left. Then bring the darker green image layer below the lighter one on the layers panel.

Repeat the same process for the “merr” and “y” layers. Make the color a darker red (#990003).
Create a new layer in between the two green “CHIRSTMAS” layers. Grab the polygonal lasso tool and select the add to selection button on the top of the screen (see image below). This will make it so that each selection with the lasso tool will be on the same layer.

Zoom in with the zoom tool and connect the corners of the two C's in the “CHRISTMAS” layers like the image below. (Click on the image to enlarge it).

Once the selection is made, use the paint bucket tool and fill the dotted lines with the darker green color (#009908).

Now the “C” looks like it is 3D. Continue this process for the rest of the letters in “CHRISTMAS”

Repeat the same process for “merr” and “y”. Fill the selections with the same dark red color (#990003)

Now our text is all set and we can move on to wrapping it in Christmas Lights.
Step II: Wraping the text in Christmas Lights
Select the pen tool and in the top options bar, select the Paths option. (See image below).

Using the pen tool, make a path like below

Now we are going to fill in the pen path we just created. In the color swatch box pick a dark green (#006b00). Select the brush tool and set the brush to a 4px hard brush. Then create a new layer above the rest of the text layers. Select the pen tool again, right click on the path that you previously created, and select stroke path.
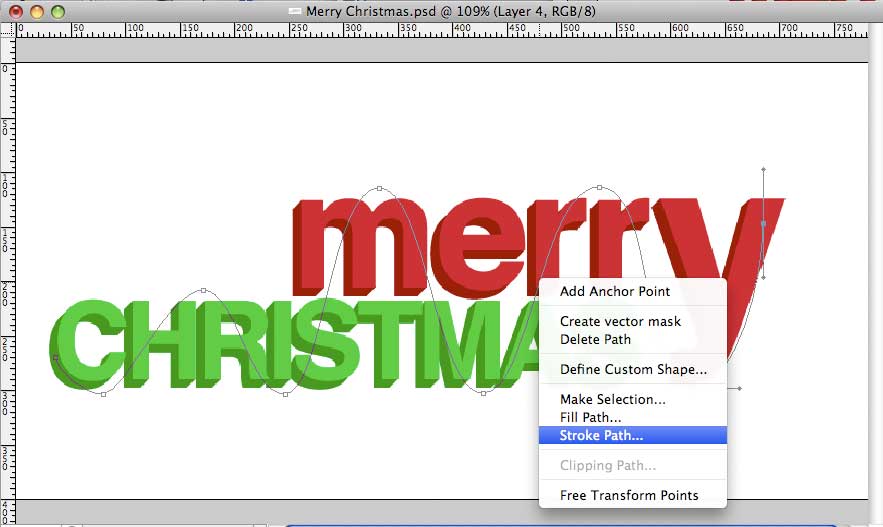
Click OK in the Brush Stroke box that pops up.

Now we have the string for our lights.

With the string layer selected, click the Add layer mask button on the bottom of the layers panel.

Grab the brush tool and press “x” on your keyboard so that you have a black brush color.
With your layer mask selected, use the black brush to go over the line and mask parts of it to look like the line is wrapping around the text

Next we are going to add some Christmas bulbs. To make the bulb see my last tutorial: How to make a Christmas Light Bulb in Photoshop. If you want to skip ahead, you can grab the PSD at the bottom of the tutorial.
Pull the light bulb into the “Merry Christmas” document.

Resize the bulb and rotate it (by hitting Ctrl+T on the keyboard) and place it on the green string line. Hit enter to accept the changes.

Select the bulb layers, and with the move tool selected, hold down alt/option on your keyboard and move the duplicated bulb to another spot on the string.

Use Ctrl+T to rotate the bulb.
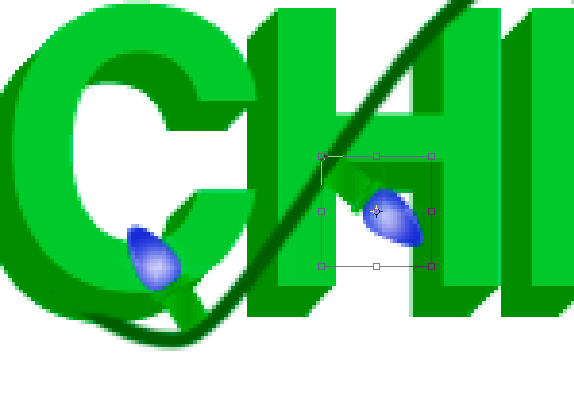
We are now going to change the color of the second bulb. If you are using or have created a bulb using my previous post, select the folder named glow and the bulb layer beneath it from the layers panel and merge them by right clicking and then selecting Merge Layers . This will allow us to add an adjustment layer.
To add an adjustment layer, select the new, freshly merged layer, then go to Layer -> New Adjustment Layer -> Hue / Saturation. When the dialog box pops up, select the Use Previous Layer to Create Clipping Mask checkbox.

Slide the Hue slider until it turns to a color that you like, then hit OK.
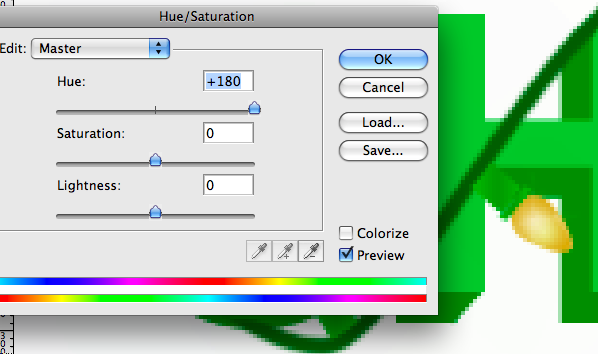
Select the second bulb and repeat the duplication/color changing process until the whole string is filled up. Be sure to put some lights behind the text by dragging the bulb layer underneath the text layers.

Step III: Adding shadows
The final step will be to add some shadows under the lights to give them some depth. Create a new layer directly under the green string layer. Grab a soft, 9px black brush and paint shadows under the lights that are on top of the text. Set the opacity for the shadow layer to 30%.
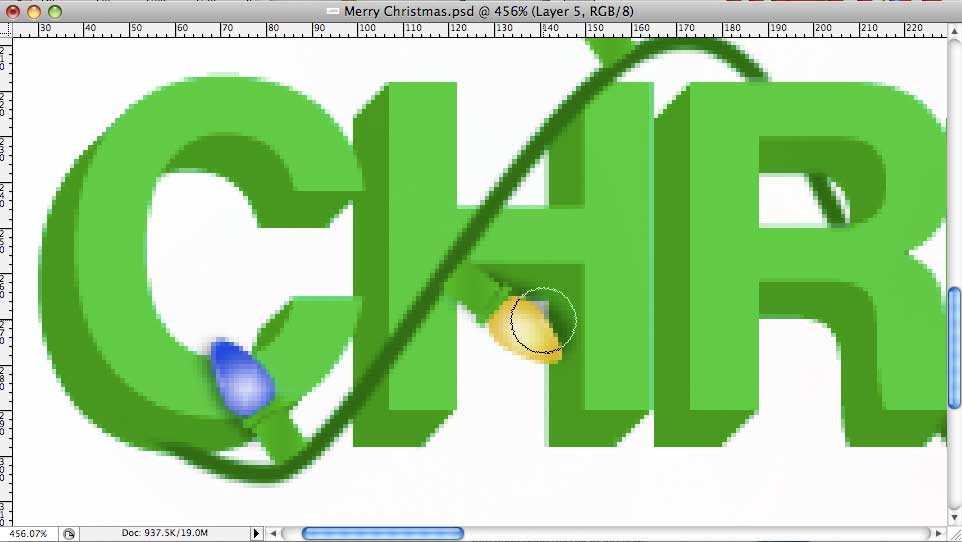
Then, on the same layer and grab a 4px soft, black brush, and paint a shadow for the green string.

Finished Product
There you have it, the finished product

There you have it – how to wrap something in Christmas Lights! Be sure to check out the video tutorial!
